The Ultimate 3-Day El Nido Itinerary
The9toFly contains affiliate links. If you make a purchase using one of the links below, we may receive compensation at no extra cost to you. We only recommend products and services we use and trust. Read our disclaimer for more information.
We were so excited for this trip but El Nido didn’t ease us into its paradise. It made us work for it first.
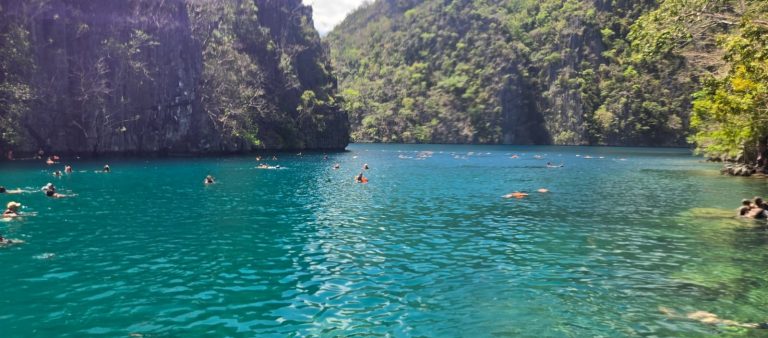
For us, that meant a six-hour ferry ride that was originally supposed to be four. But then the coastline appeared, all jagged cliffs and that ridiculous shade of blue you only see in wallpapers — and suddenly none of it mattered.
El Nido was stop #3 on our two-week Philippines adventure, and somehow it managed to reset our expectations completely. And honestly, we weren’t expecting it to hit this hard.
Cliffside treehouses? Check.
A zipline between two actual islands? Check.
Scuba diving with coral gardens that look like Pixar designed them? Check.
Vegetarian dumplings in a tiny beach town? Shockingly… also check.
Not gonna lie, El Nido is equal parts wild and wonderful. It’s the kind of place where you wake up to roosters, scooter your way through palm-lined roads, watch sunsets that shut you up mid-sentence, and go to bed with sand stuck somewhere inconvenient.
Here’s exactly how we spent 3 days in El Nido — the ziplines, the scuba dives, the treehouses, the food stops, the little misadventures, and all the things we wish someone had told us before we arrived.
Day 1 – Arrival in El Nido, Treehouse Stay & That Island Zipline
We pulled into El Nido port around 1 PM. The plan was simple: find our treehouse, grab the free scooter, and squeeze in one big adventure before sunset.
Spoiler: we did all three. And it set the tone for everything that followed.
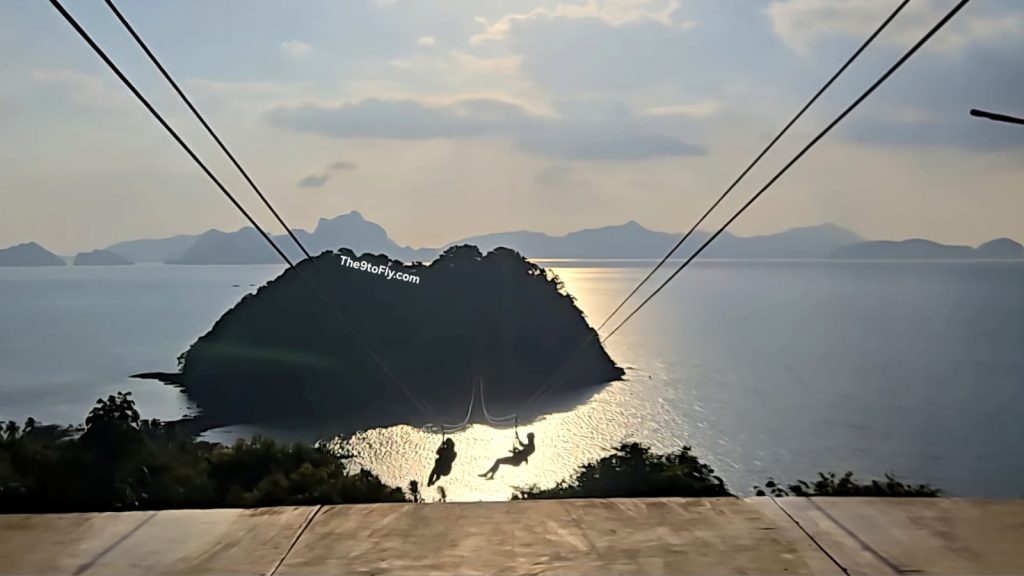
Ziplining at Las Cabañas — Flying Between Two Islands
If there’s one thing you should absolutely do on Day 1, it’s the Las Cabañas Zipline. You’re literally flying between two islands over turquoise water. It looks insane, feels even better, and yes — the GoPro footage will make your friends jealous.
Hours: 8:30 AM–5:00 PM (last entry around 3 PM)
Prices:
₱1,000–₱1,200 round trip
₱600 sitting (one-way)
₱800 superman (one-way)
We went with the superman position because of course we did.
After the zipline, stroll the beach, grab a fresh coconut, and let the adrenaline settle.
Pro Tip: Don’t arrive late — the final run cuts off earlier than you think. We barely made it at the last minute and were lucky enough to hop on that ride!
Sunset at Las Cabañas — One of the Best in El Nido
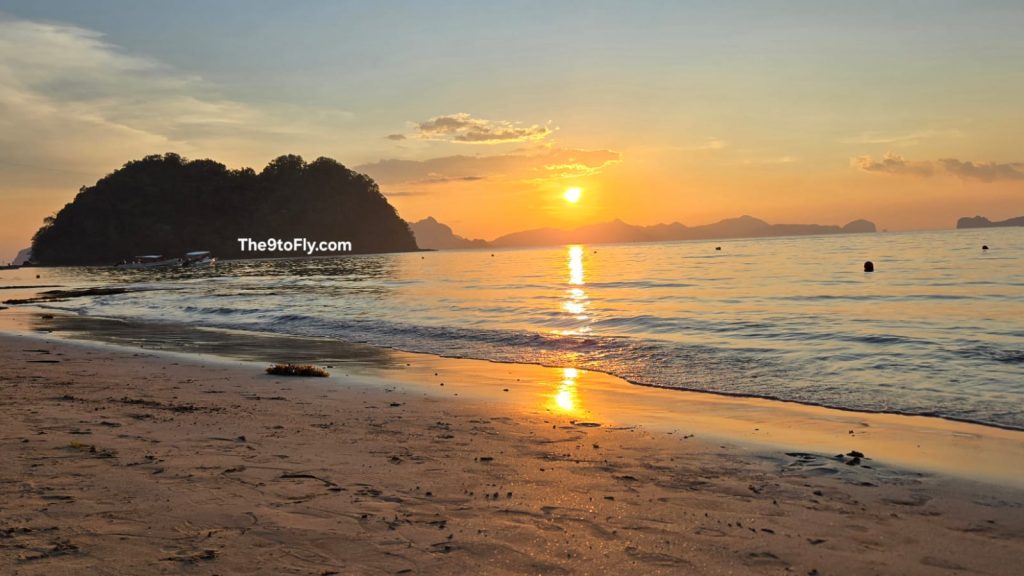
Las Cabañas is one of those beaches that goes quiet right as the sun does its thing.
Golden skies, slow waves, silhouettes of people holding coconuts like trophies!
We sat on the sand, watched the colors melt into each other, and let that feeling settle in.
Dinner in Town (Vegetarian-Friendly & Surprisingly Diverse)
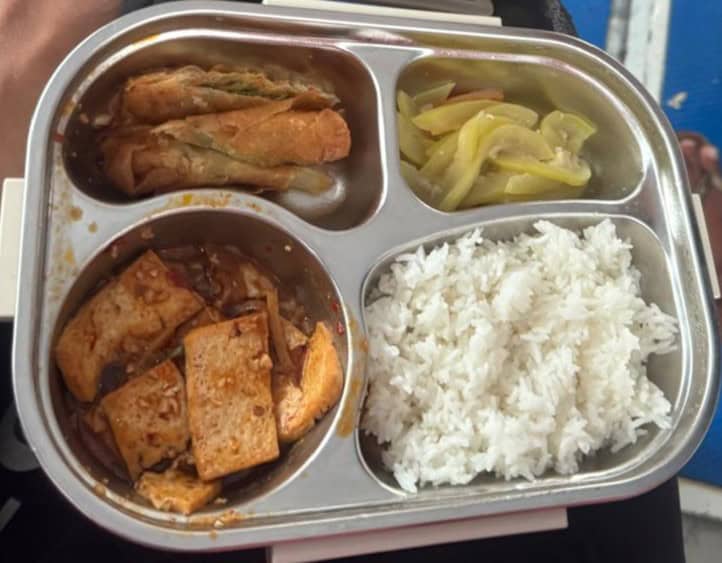
Once the sun dipped, we scootered back into town for dinner. El Nido Town has more vegan/vegetarian food than we expected — a nice plot twist (coz we were prepared with cookies and chips for our survival!).
Our favorites: Veg fried/chilli dumplings, Indian restaurants like Asoka and Biryani Palace
The whole area buzzes at night — music drifting out of cafés, people wandering the streets with post-beach hair, restaurants filling up fast.
We also stopped by 200 Bar Diving School to book scuba diving for the next morning. Since it was our first-ever dive (and Vince can’t swim), we had a few nerves, but the staff were super friendly and explained everything clearly. By the end, we felt confident enough to book on the spot.
Day 2 – Scuba Diving in Paradise (Even If You’ve Never Dived Before)
Waking Up for Dive Day
We know, we know…. waking up early on vacation takes commitment.
But dive day? Worth every sleepy eyelid.
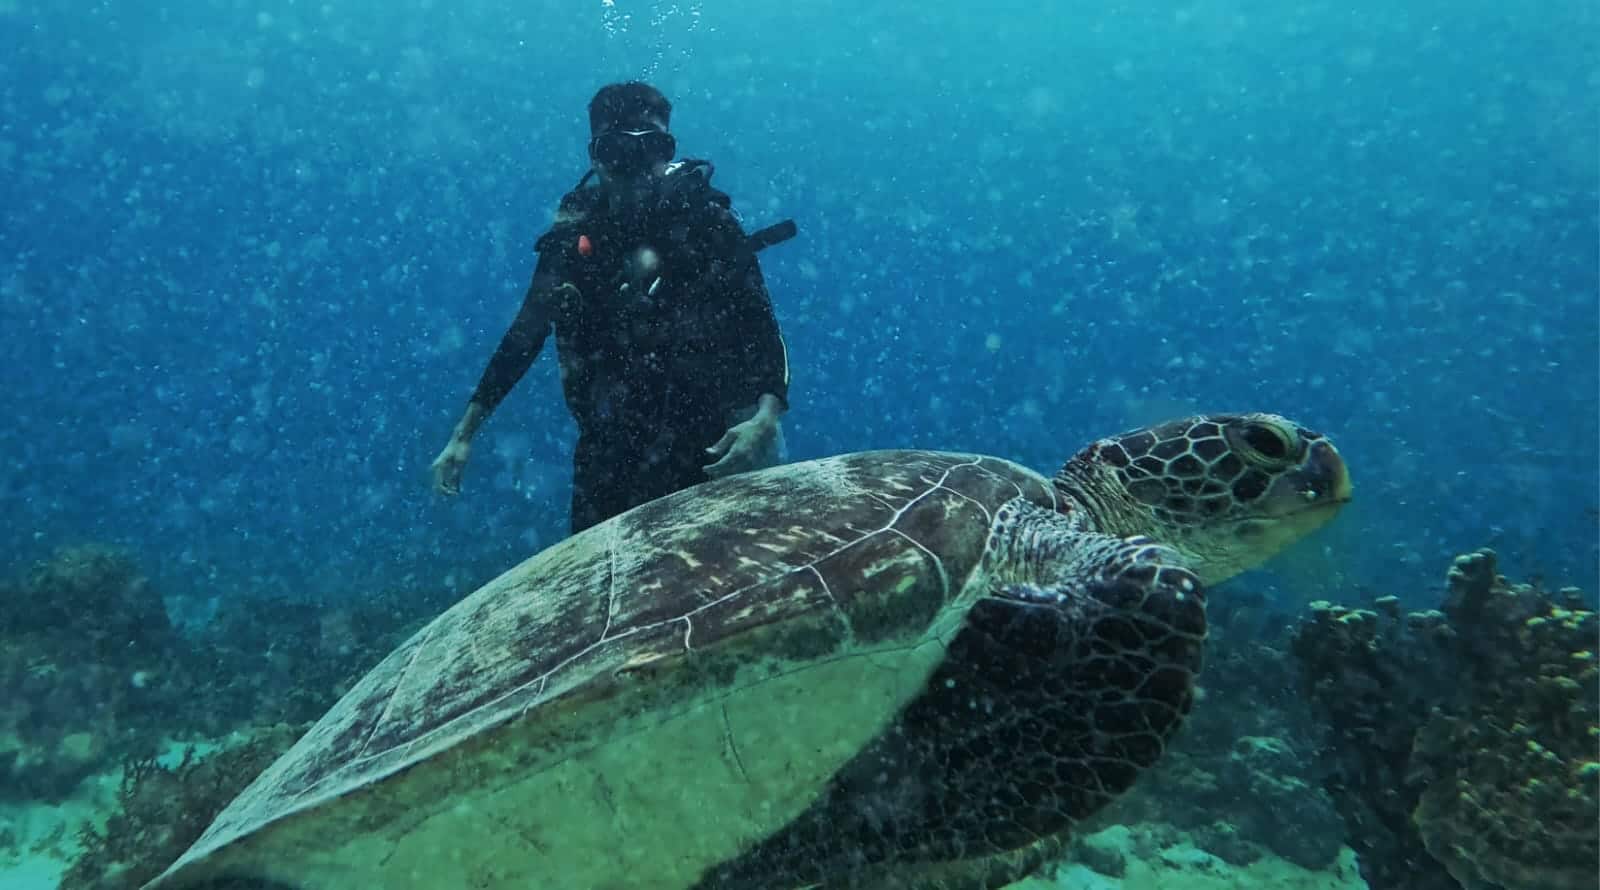
We headed to 200 Bar Diving for their Discover Scuba Diving program — perfect for beginners, nervous first-timers, and anyone who wants to experience the underwater world without a full certification. Super laid-back staff, zero pressure, very El Nido energy.
They ask you to meet at 7:30 AM, and yes, that’s early… but trust us, you want the calm morning water.
Dive Details (What You Actually Want to Know)
Here’s everything we paid, learned, and would repeat:
Cost:
- ₱5,000 — 2 dives (no lunch)
- ₱5,300 — 3 dives (with lunch)
- ₱400 — environmental fee (valid 5 days — don’t lose that receipt)
What’s included:
- Gear fitting
- Safety briefing
- Instructor with max 4 people
- GoPro photos + videos at no extra cost (yes, this is rare and yes, it’s awesome)
Our dive master was a 5-star PADI diver and made everything feel easy — even the awkward first moment when you try to breathe underwater and your brain goes, “Um… excuse me?”
Pro tip: If you wear glasses, ask for a powered goggles. They had them, and it made all the difference. Seeing fish in full HD = 10/10 experience.
The Dive Sites We Explored
Despite slightly cloudy skies, the visibility was solid and the reefs were buzzing with life. Each site had a vibe of its own:
🏝 Paradise Island
Coral gardens, colorful fish, soft currents — the “this is real?” moment.
🪨 Twin Rocks
Dramatic formations, more biodiversity, unique angles for GoPro shots.
🚤 Helicopter Island
Weather-permitting, but absolutely worth it. Clear water, lively reefs, great for beginners.


We saw everything from schools of fish to the occasional Nemo cameo. Every descent felt like entering a new chapter.
Lunch on the Boat (Vegetarian-Friendly & Surprisingly Good)
Lunch was simple, warm, and honestly hit the spot:
Vegetarian rice + curry, prepared fresh and served right on the boat.
Eating with ocean views and salty wind in your hair? Hard to beat, honestly!
Post-Dive Ritual: Massage, Dinner & Lazy Wandering
After surfacing from our final dive, the exhaustion hit — the good kind.
We got back to town around 3:30–4:00 PM, showered off the salt, and did what every sensible person should do after scuba diving. Massage!
Your body will thank you.
There are many massage parlors across the town that you can explore!
Dinner was round two of our favorite vegetarian-friendly spots. More dumplings, more curries, more comfort food. We know, we love dumplings (don’t judge haha!)
Honestly we were too exhausted to do anything else after our dive. We wandered the town square afterward — nothing major, just soaking in the slow evening energy before calling it an early night.
Day 2 is the kind of tiredness where you fall asleep immediately… but in a very satisfying way.
Day 3 – El Nido Canopy Walk & Final Exploration
A Chill Start to the Day
By Day 3, you’ll feel that delicious combination of tired legs and full-heart travel energy — the best kind. We let ourselves wake up slowly, grabbed breakfast, and eased into the morning. No alarms. No rush. Just island time doing its thing.
We already did an island hopping tour in Coron so our third day was all about light adventure, great views, and letting El Nido wrap up the trip with something memorable (and yes… Instagrammable).
The El Nido Canopy Walk — Easy, Scenic & Surprisingly Fun
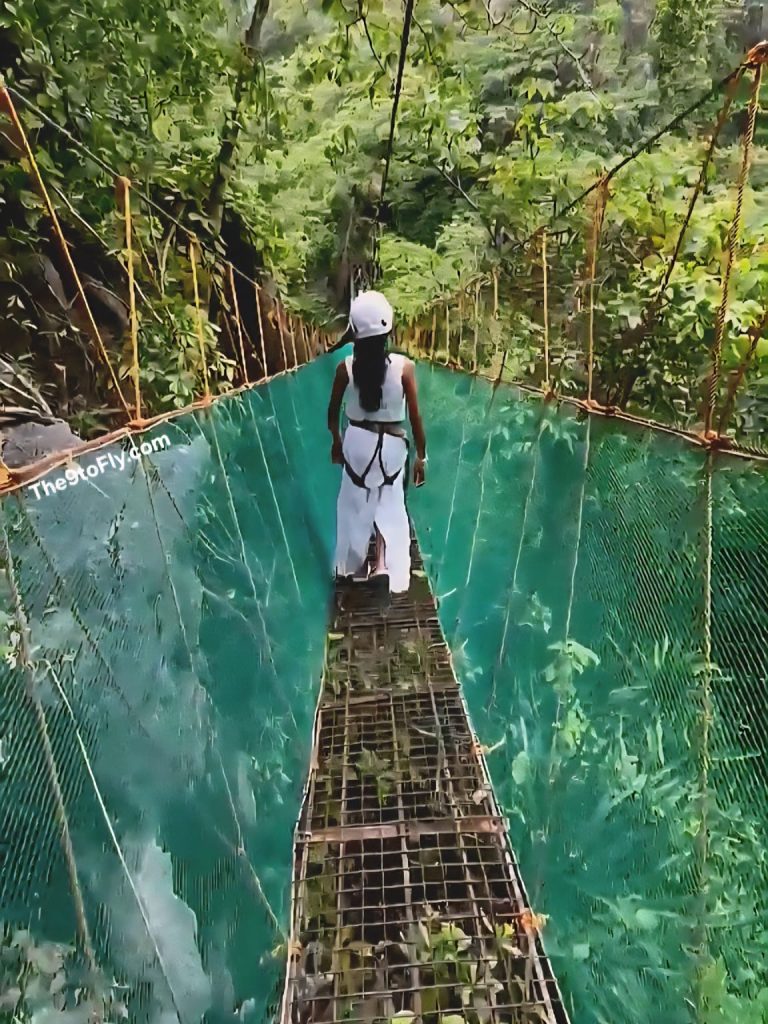
The Canopy Walk is one of those activities that looks dramatic in photos, but in reality? Super accessible. Great for beginners, great for anyone afraid of heights, and great after two days filled with adrenaline.
Here’s what you need to know:
Cost: ₱650 for Canopy Walk, (optional add-on) +₱650 for the Spider Web Walk
Duration: 30–45 minutes for Canopy Walk, +45 minutes if you add the Spider Web
Everything is guided, safe, and very organized. They strap you into a harness, hand you a helmet, and off you go through a series of rope bridges, walkways, and metal paths leading up into the limestone hills.
Pro tip: Wear proper shoes. Closed-toe is required, and your toes will thank you.
Girls, opt for a short/jeans so as to not ruin your pretty dress with the harness.
The highlight?
That final viewpoint that shows off El Nido town framed by cliffs and coastline. It feels like a reward — a calm, panoramic “you made it” moment.

Spider Web Walk — Extra Fun or Extra Effort?
If you’ve still got energy (or if FOMO is your love language), the Spider Web Walk is a fun addition.
Think:
- A large net suspended between limestone formations
- Photo angles that make it look way more intense than it feels
- A bit more climbing, a bit more sweat, a lot more content
If you’re tired from diving and ziplines, the base Canopy Walk is plenty. If you want that extra scroll-stopping Instagram picture, go for the add-on.
We were already in adventure mode, so… yeah. We did the Spider Web too.
NacPan Beach — The Quiet Side of El Nido
NacPan was the breather we didn’t know we needed.
After two days of adventure, we wanted something slower. And NacPan beach was suggested to us by the hosts where we stayed!
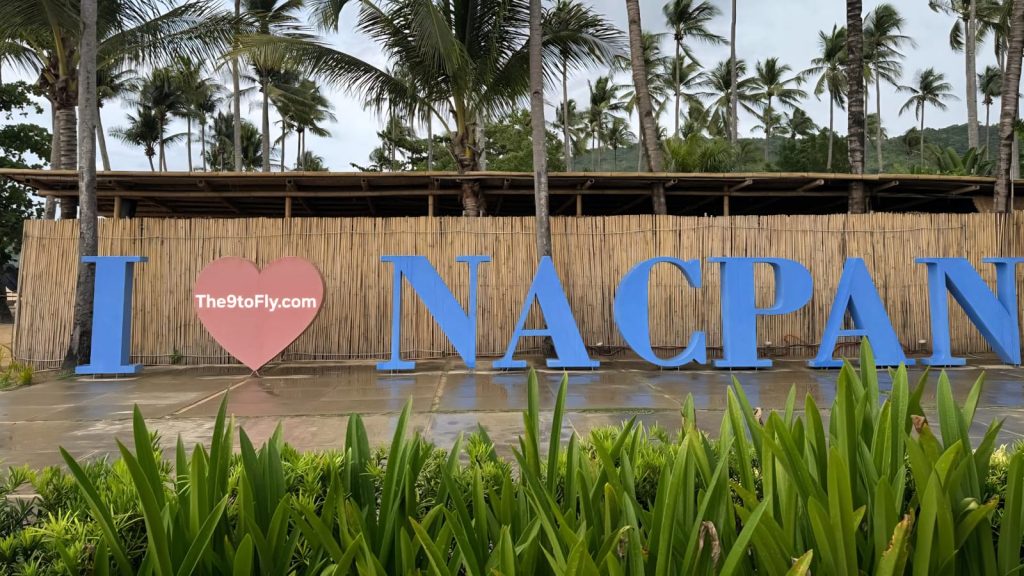
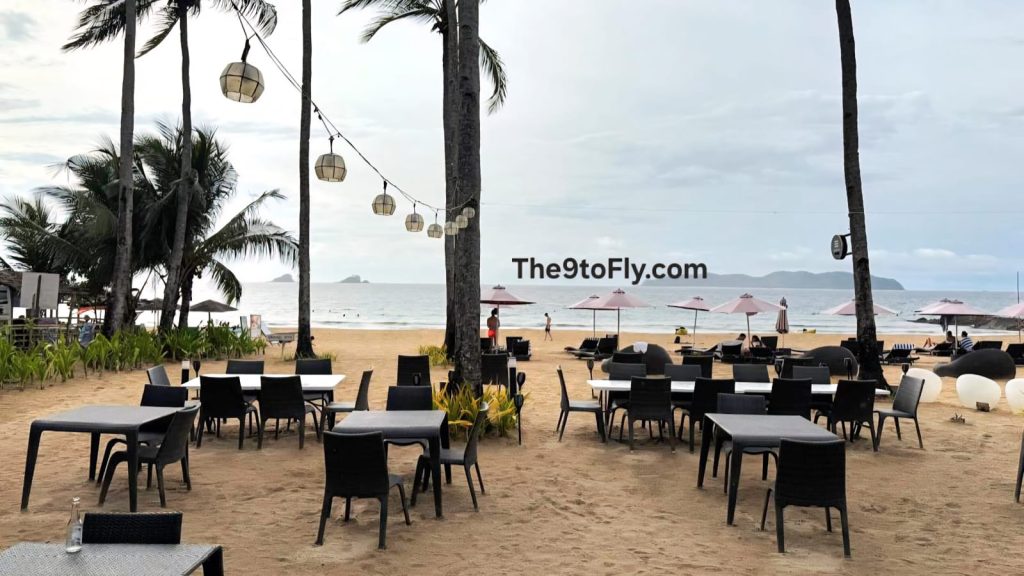
It’s about 45 minutes north of town by scooter, and the ride itself is half the fun — winding roads, and beautiful palm trees. When you finally arrive, you’re greeted by this long, wide stretch of golden sand that feels worlds away from the busier beaches near town.
We grabbed a spot under one of the palm umbrellas, ordered cold drinks from a beachside shack, and did absolutely nothing productive for a few hours. We just enjoyed beach views and soaked in the vibes there!
Final Hours in El Nido — Do What Feels Good
We returned back from NacPan as the sun started dipping. Dinner was a quiet affair — one last round of meal, watching the evening crowd fill up the streets. No rush to be anywhere, no activities to squeeze in. Just a slow meal and that bittersweet feeling of a trip winding down.
We packed up that night, scrolled through three days’ worth of photos, and tried to process how much we’d crammed into 72 hours.
El Nido doesn’t demand a dramatic goodbye. It just lets you leave quietly, already thinking about when you’ll come back.
Vegetarian / Vegan Food in El Nido
We didn’t expect much from a small beach town — honestly, we packed emergency snacks just in case. But El Nido surprised us.
We mostly ate at Indian restaurants and Italian cafes. They were the safest bets for vegetarian food without having to explain too much.
Patron Mexican Bar was another solid find. Good veggie burritos and tacos, cold beers, and a nice vibe for a casual dinner. Worth a stop if you want something different from Indian or Filipino food.
Beyond that, you’ll find the usual backpacker staples around town: fruit shakes, fresh coconuts, veggie rice plates, and simple pasta.
Local Delicacy: Definitely try the halo-halo, a “mix-mix” Filipino shaved ice dessert layered with sweetened beans, fruit ice cream like ube, jellies, etc. for a refreshing, textural explosion.
If you’re staying outside town, grab snacks before you head back — options may dry up fast once you’re away from the main streets.


Getting From Coron to El Nido
If you’re coming from Coron, the ferry is most convenient and gets the job done.
We took the Phimal ferry — ₱2,500 per person + ₱20 terminal fee — which normally runs about four hours. Ours took closer to six thanks to port traffic, but the ride itself was smooth. No drama, no chaos, just a gentle reminder that “Philippines time” is a personality trait.
Pro Tip: Show up an hour early, snag decent seats, and bring snacks. Always snacks (hangry Annie hits uncanny levels fast).
From the port, we ignored the overpriced van offers and hopped into a tuk-tuk (be sure to haggle or you end up paying a premium) straight to Hiraya Campsite, our home for the next two nights.
Where we stayed?
Hiraya Campsite: What we got was a proper treehouse tucked into greenery about 15 minutes outside town.
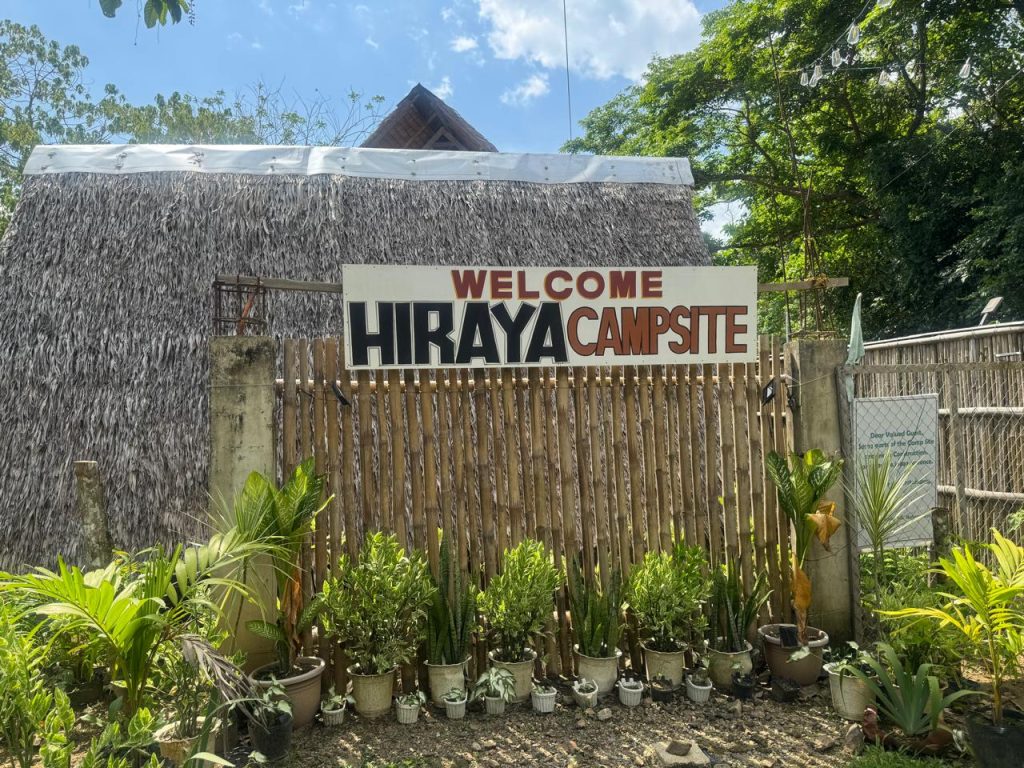
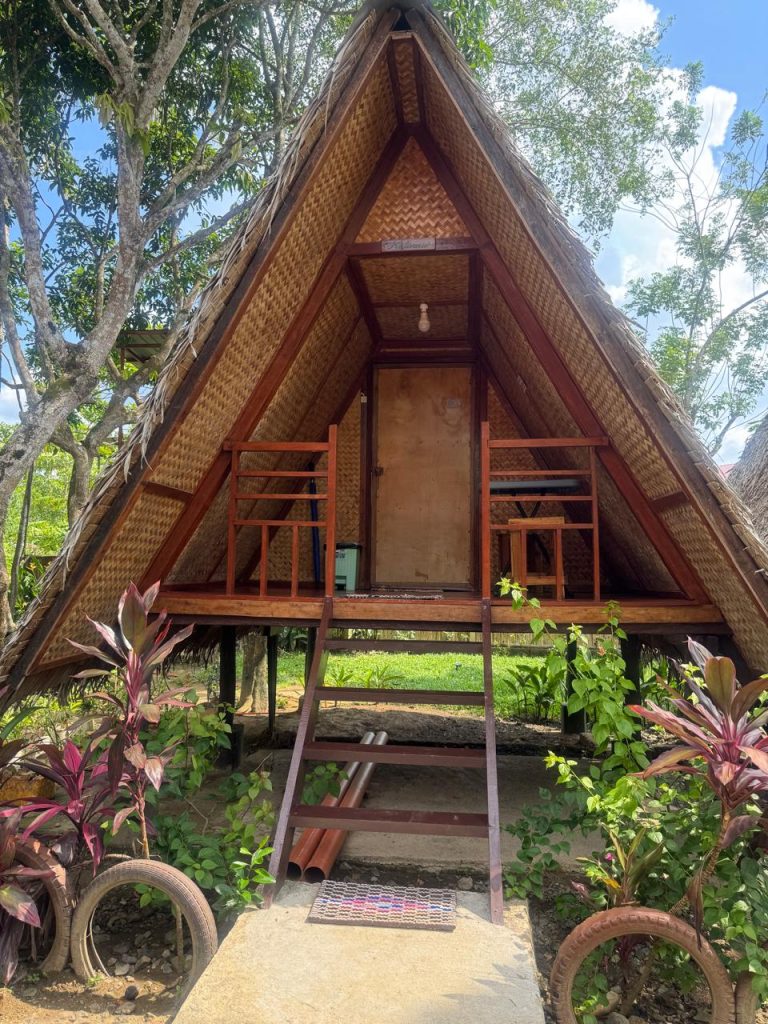
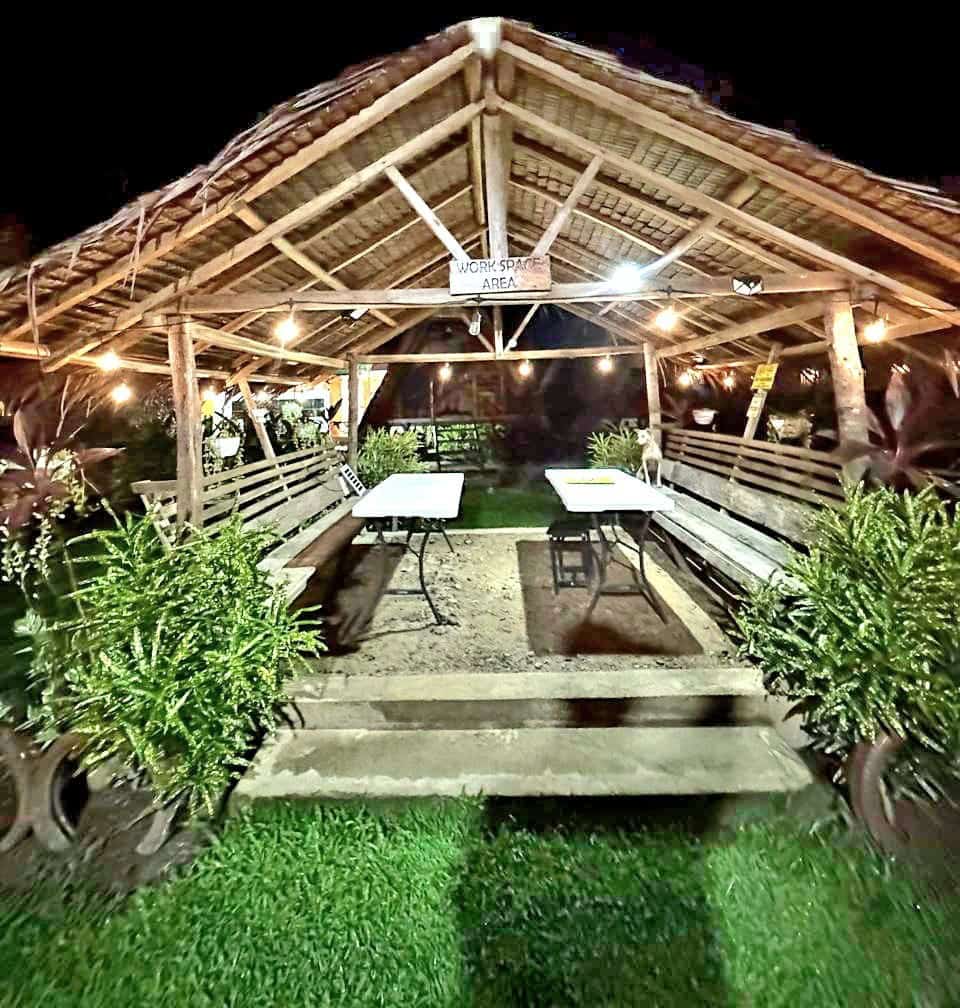
What we loved:
- Free scooter rental (this alone saved us so much hassle)
- Free breakfast every morning
- Genuinely friendly staff who helped us plan activities
- That treehouse feeling.
The only trade-off? You’re not walking distance to town. But with the scooter, it never felt like a problem. If anything, we liked having a peaceful base to return to after busy days.
FAQS for the first-time travelers
How to Get Around El Nido?
- Scooter: Easiest and fastest. Around ₱500–₱600/day. Great for quick trips to town and beaches.
- Tuk-tuk: Everywhere, cheap, reliable. ₱50–₱300 depending on distance.
- Walking: Town is walkable; everywhere else isn’t.
- Local tip: Fuel can be random — top up whenever you see a station (or grab the bottled gas on the roadside).
Best Time to Visit El Nido?
- Dry Season (Dec–May): Best weather + calmer seas.
- Our experience: A bit cloudy but still great visibility underwater.
- Avoid: August–October (rainy + possible typhoons).
Is 3 Days Enough in El Nido?
Yes — as long as you prioritize.
Our itinerary keeps things balanced:
- One big adventure (diving or island hopping)
- One light activity (zipline or canopy walk)
- One slow day for food, beaches, and exploring
Perfect for a 2-week Philippines trip without burning out.
Final Thoughts- Why El Nido stays with you
El Nido isn’t the loud or dramatic kind of paradise.
It’s a slow burn kind that sneaks up on you between scooter rides, sunset coconuts, quiet cliff views, and those quiet moments where everything feels softened by the sea.
This little beach town gives you variety without pressure.
One day you’re diving with schools of fish, the next you’re walking above the treetops, and somewhere in between you’re partying in a town square that feels both chaotic and comforting.
For us, El Nido was the perfect midpoint of our two-week Philippines trip — energizing, peaceful, and just the right amount of wildness. If you’re planning your own adventure, three days is enough to fall for this place… and also enough to wish you had one more.

![The Ultimate 12-Day Philippines Itinerary for First-Timers [2026]](https://the9tofly.com/wp-content/uploads/2026/03/WhatsApp-Image-2026-03-18-at-9.56.51-PM-768x432.jpeg)
![The Perfect 2-Day Manila Itinerary for First-Timers [2026]](https://the9tofly.com/wp-content/uploads/2026/02/Manilllaa-768x515.jpeg)